



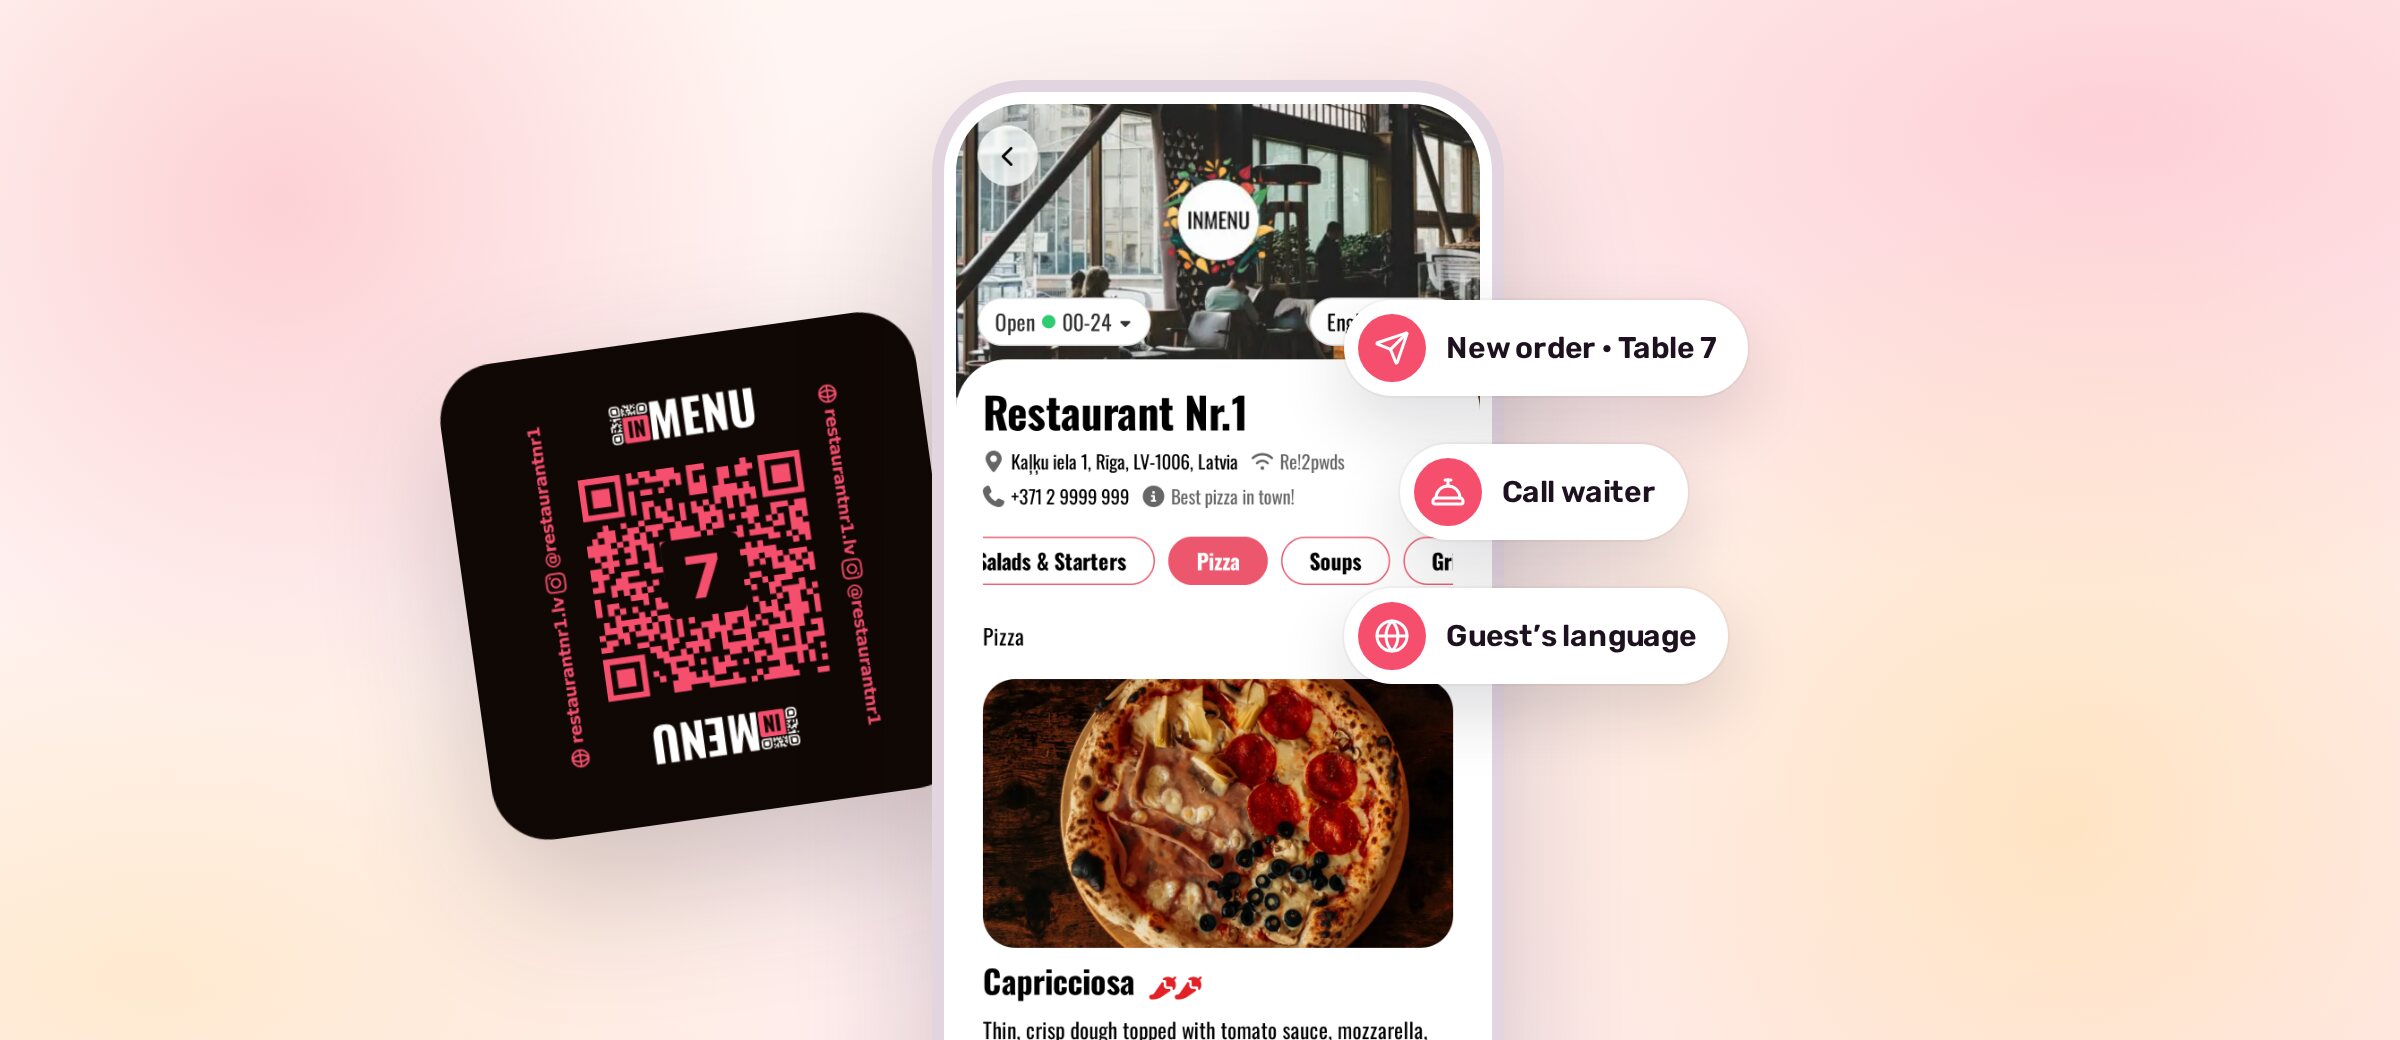
A paper menu goes out of date the first time a price changes. A QR code menu solves this: guests scan a code on the table, the menu opens in their phone's browser, and you can edit it whenever you like. Setting one up takes less time than most owners expect. If you collect your current menu in advance, you can build the online version, print the QR codes and brief your team in a single evening.
This guide covers each step, gives you a time plan for the evening and lists the mistakes that most often stop guests from using a QR menu.
What a QR code menu is and how guests use it
A QR code menu is an online menu that opens when a guest scans a QR code with their phone camera. It works in the browser, so nobody has to install an app or create an account. Here’s how it looks for the guest:
- points the phone camera at the code on the table or at the counter;
- taps the link that appears on the screen;
- browses categories, photos and prices, switches the language if needed and, if you accept orders through the menu, orders.
The QR code holds only the address of your menu. The menu itself lives online, so you can change dishes and prices as often as you need and the printed code keeps working. To try it yourself, open our live demo menu.
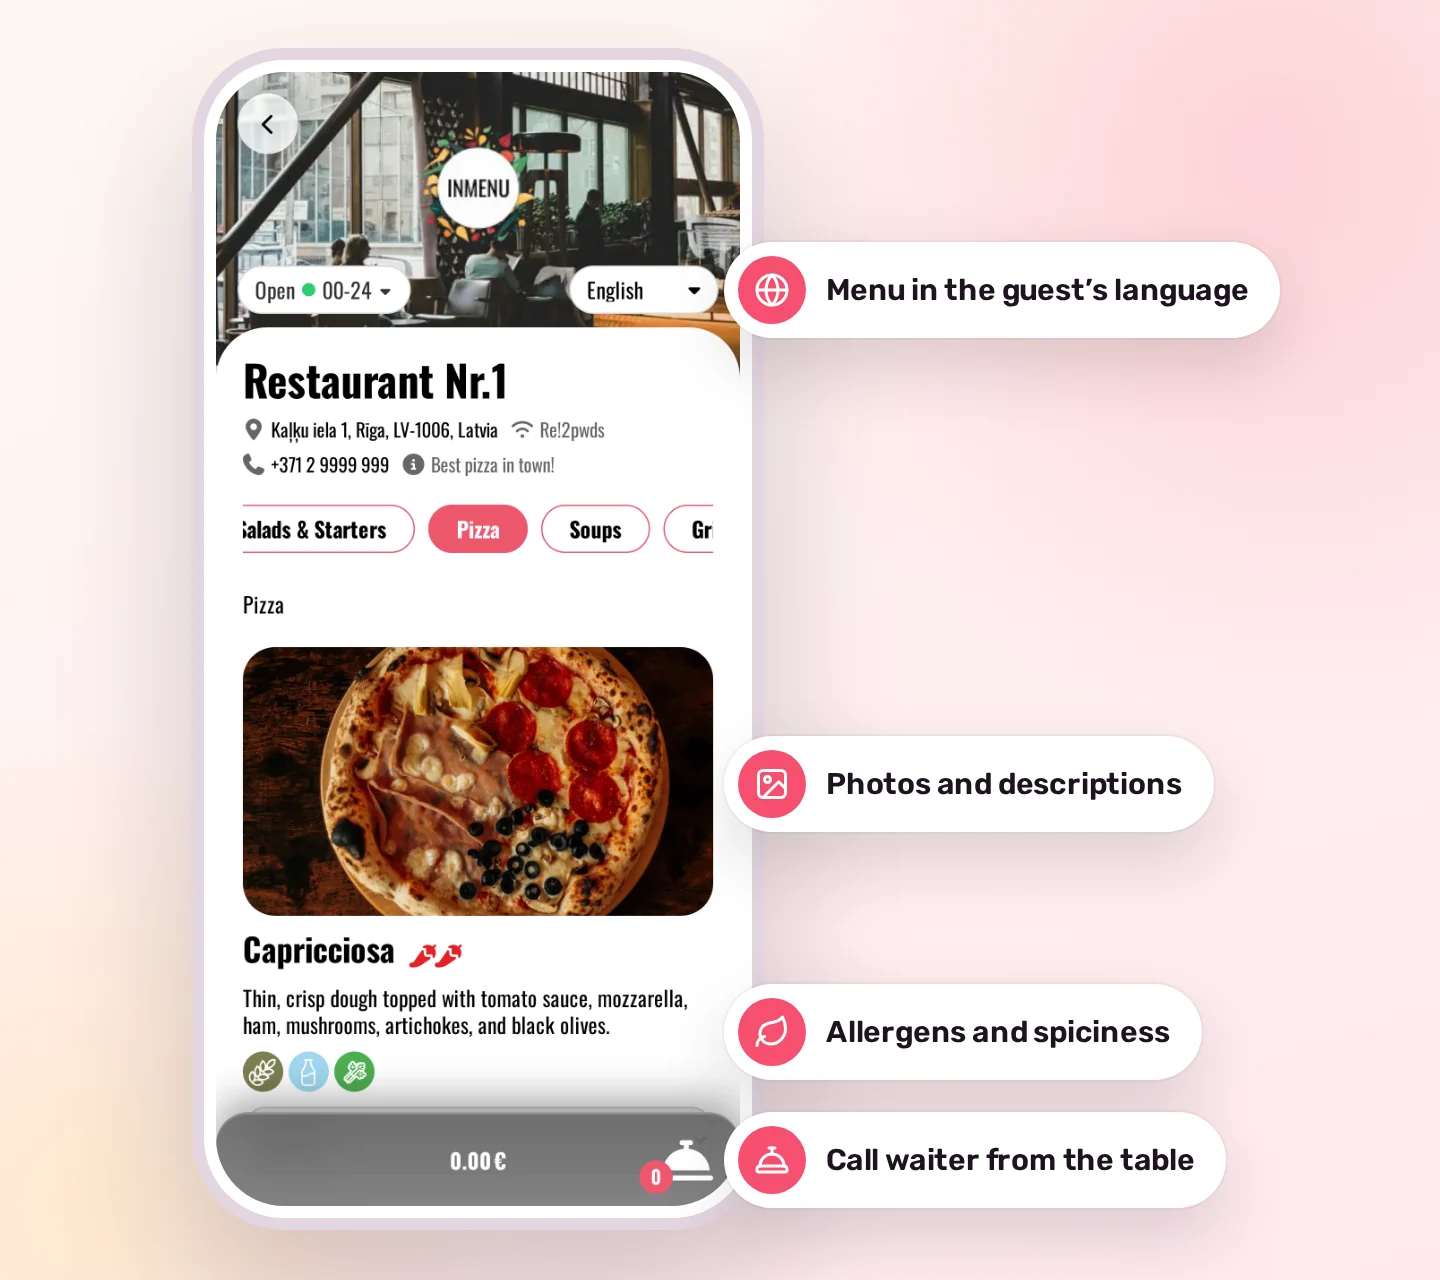
What guests see after scanning: the menu opens in the browser, no app needed.
Why restaurants and cafés switch to QR menus
- Prices and dishes change in seconds. Edit a price, add a seasonal dish or mark one as sold out, and guests see the change the next time they open the menu. Nothing needs reprinting.
- Guests read the menu in their own language. Add translations once, and tourists no longer need a waiter to explain every dish.
- Photos help guests choose. A photo and a short description answer most questions before anyone calls a waiter.
- Allergens are easy to find. Allergen icons next to each dish help guests choose dishes that suit their needs and save your staff from answering the same questions all evening.
- Orders reach the team without paper tickets. If you turn ordering on, guests order from the menu and the kitchen and waiters see the order straight away.
How to fit the switch into one evening
The whole switch takes about an hour and a half. Here's a plan you can follow after a shift or on a quiet evening:
- 45 minutes: create categories and dishes in the dashboard, add photos, sizes and translations, set your logo and colours.
- 20 minutes: QR codes. With the annual plan, we make and deliver them for you, and you can generate and print any QR code in the dashboard at any time.
- 15 minutes: place the QR codes on the tables.
- 15 minutes: show the team where orders arrive and place a test order.
With a large menu of a hundred dishes or more, or several languages, plan more time for building the menu, or let us build the menu for you.
Before you start: what to prepare
Most of the evening goes into typing the menu, so gather everything first. A shared folder or a single document is enough:
- names and prices of dishes and drinks, grouped the same way as on your paper menu;
- a short description of each dish: main ingredients, weight or volume;
- sizes and options with their prices, for example a 30 cm and a 40 cm pizza;
- allergens for each dish (the kitchen knows them best);
- photos of your best sellers, taken in daylight on a plain background;
- your logo and brand colours;
- translations, if you want the menu in several languages;
- the number of tables, so you know how many QR codes to print.
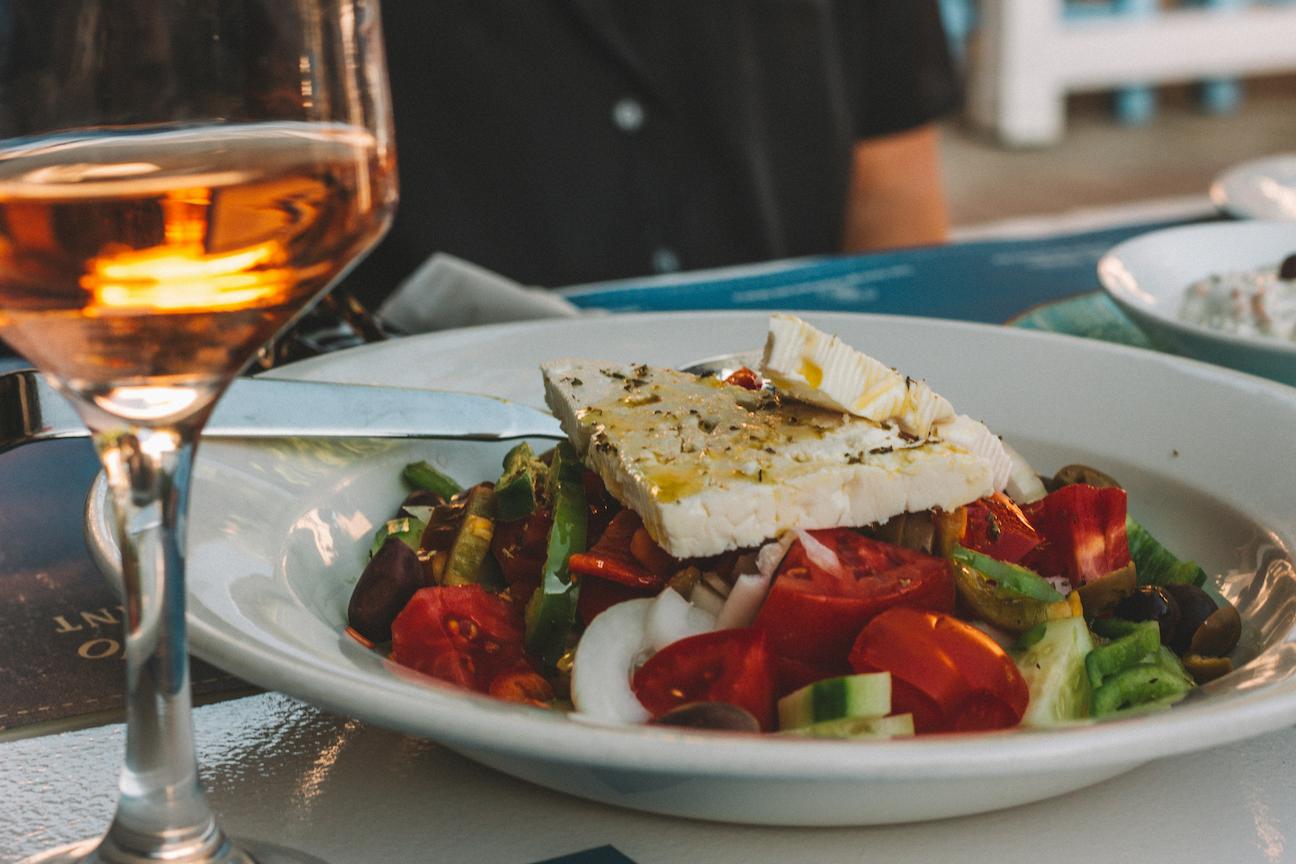
One good photo of a best seller tells guests more than a long description.
Step 1. Create the menu in the dashboard
Start a free trial, give your menu a name and choose its web address. The menu is ready in about a minute, and you can log in to the dashboard. Then fill it in this order:
- Categories. Follow the structure of your paper menu: starters, mains, pizza, desserts, drinks. Guests find dishes faster in clear categories than in one long list.
- Dishes. For each dish, add the name, price, description, photo and allergens. You can also show how spicy a dish is.
- Sizes and options. If a pizza comes in 30 cm and 40 cm, add both sizes to one dish instead of creating two separate dishes.
- Languages. Turn on the languages you need in the settings and add translated names and descriptions. Guests can then read the menu in their own language.
- Design. Upload your logo and a cover photo and choose your brand colours.
- Venue details. Add your address, opening hours and social media links so guests can find them in the menu.
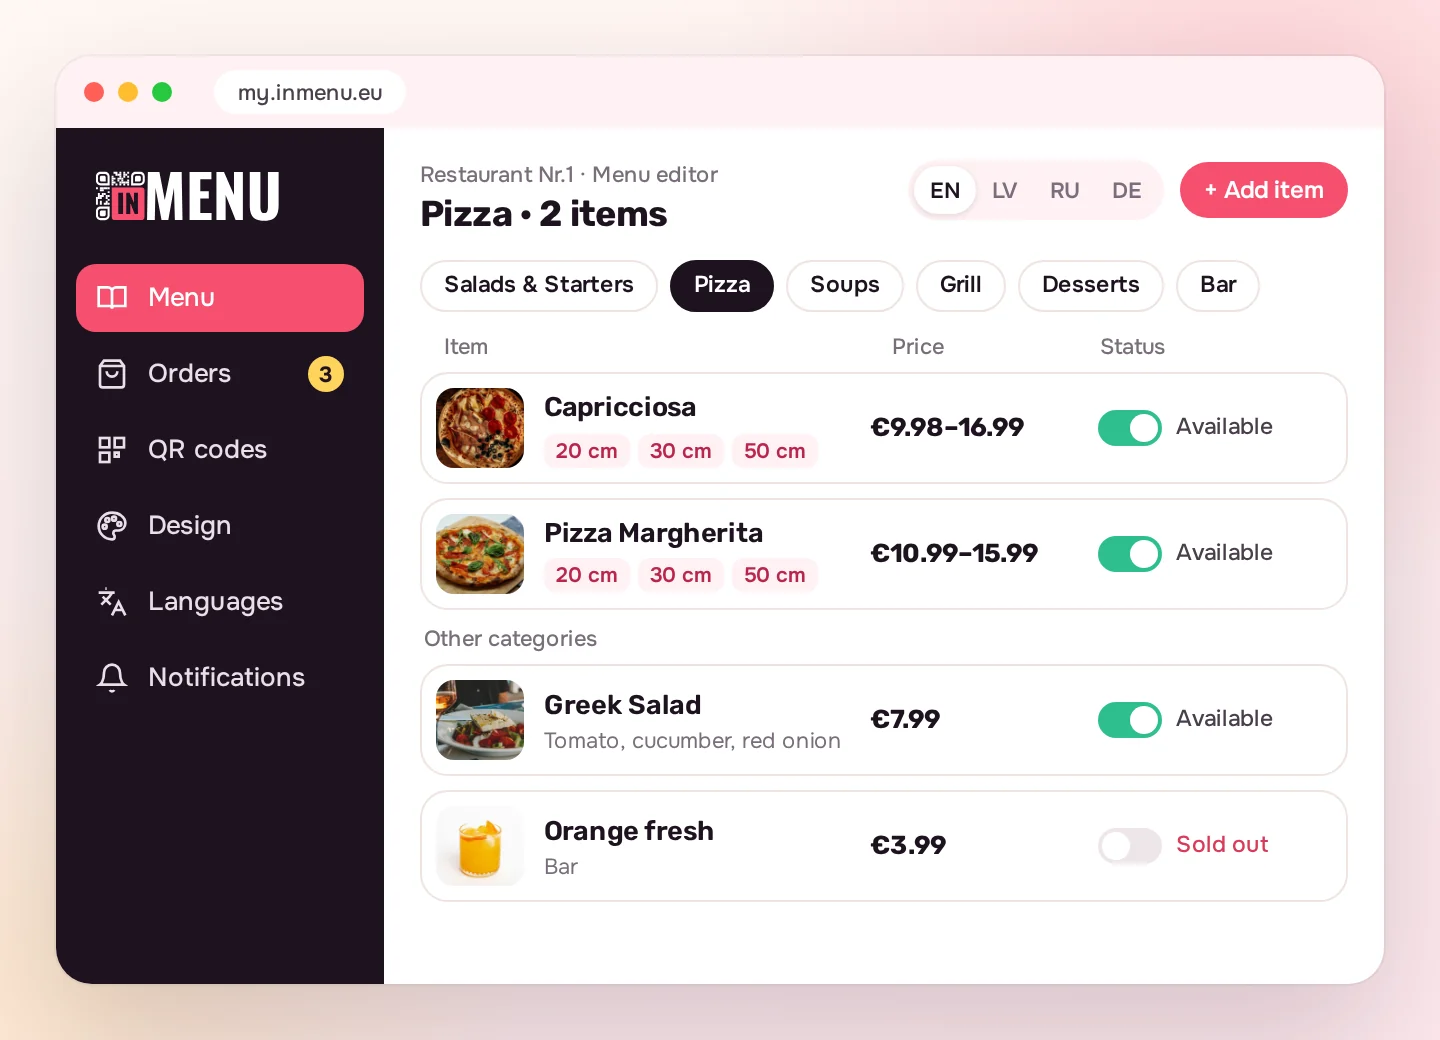
The menu editor: categories, dishes, sizes, prices and availability.
Step 2. Make a QR code for every table
Open the QR Code page in the dashboard. The card editor makes table cards that already contain your menu's QR code:
- choose the background and text colours, or one of the ready palettes;
- add your website, phone number, Instagram or other links to the card;
- put the table number in the code, so the menu knows where the guest is sitting;
- download one card as PNG or SVG, or the whole set, one card per table (up to 100 at a time), as a single .zip file.
Numbered cards are worth the extra minute. With them, guests can call a waiter from the menu, and when they order at the table, the table number is filled in automatically. The editor also checks every code before you download it and warns you if the colours are too close for phones to read.
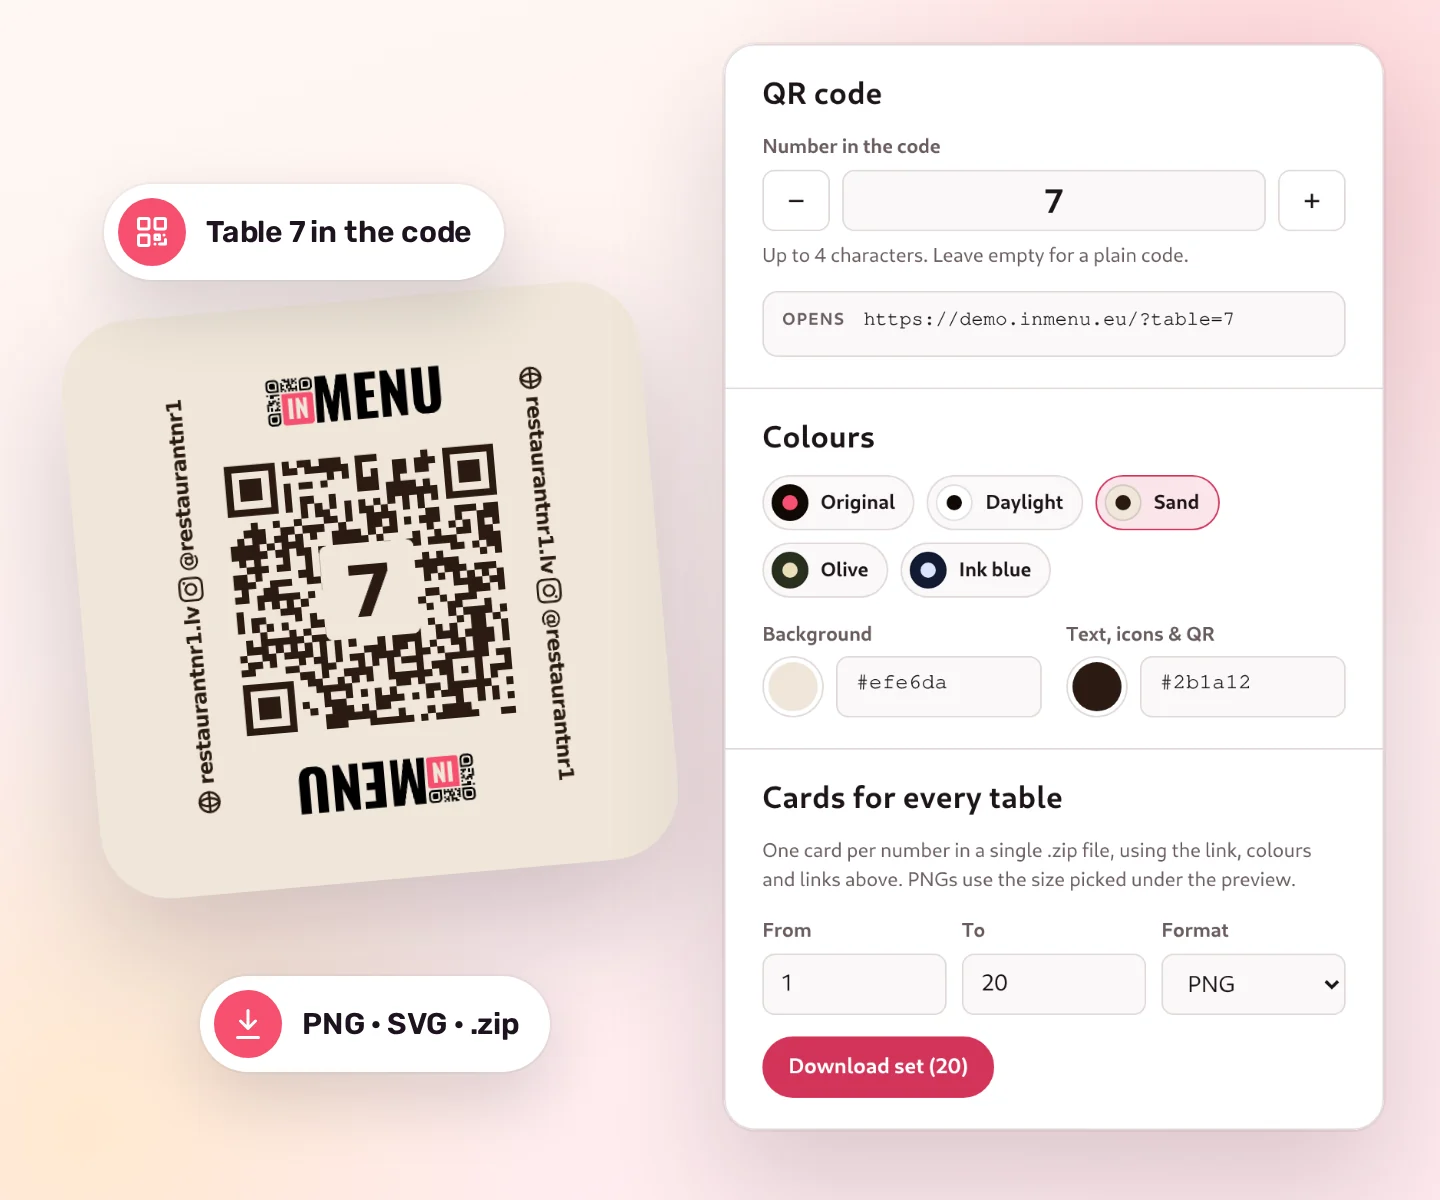
The QR card editor: colours, links and a numbered card for every table.
How to print QR codes so they scan the first time
- On a table card, make the code at least 3 × 3 cm. For a poster on a wall, use the 1:10 rule: if guests scan from 2 metres away, the code should be about 20 cm wide.
- Use a dark code on a light background and matte paper or lamination: glare from a glossy card stops the camera.
- Put the cards where guests see them as they sit down: on every table, at the counter and at the entrance for people waiting for a table.
You can download and print as many QR codes as you need at no extra cost. With the annual plan, we make and deliver 50 QR stickers for you.
Step 3. Test the menu like a guest
Before the first guest scans the code, check everything yourself:
- Scan the printed codes yourself as a test.
- Go through the menu as a guest would: are all prices right, are the photos there, does everything have a translation?
- If ordering is on, place a test order and see where it arrives.
Step 4. Get your team ready
Staff should know how the menu works before the first guest asks about it. Agree on three things:
- Where orders arrive. Add the inmenu bot to your team's Telegram chat, and every new order and every “Call waiter” request appears there. The kitchen and bar can also work from a kitchen display (KDS) on any tablet, where each sees only its own dishes, and waiters get alerts on their phones.
- Who marks dishes as sold out. Usually the kitchen or the shift manager. It takes a few seconds and spares you awkward explanations to guests.
- What to offer a guest without a smartphone. Keep one or two printed menus at the bar.
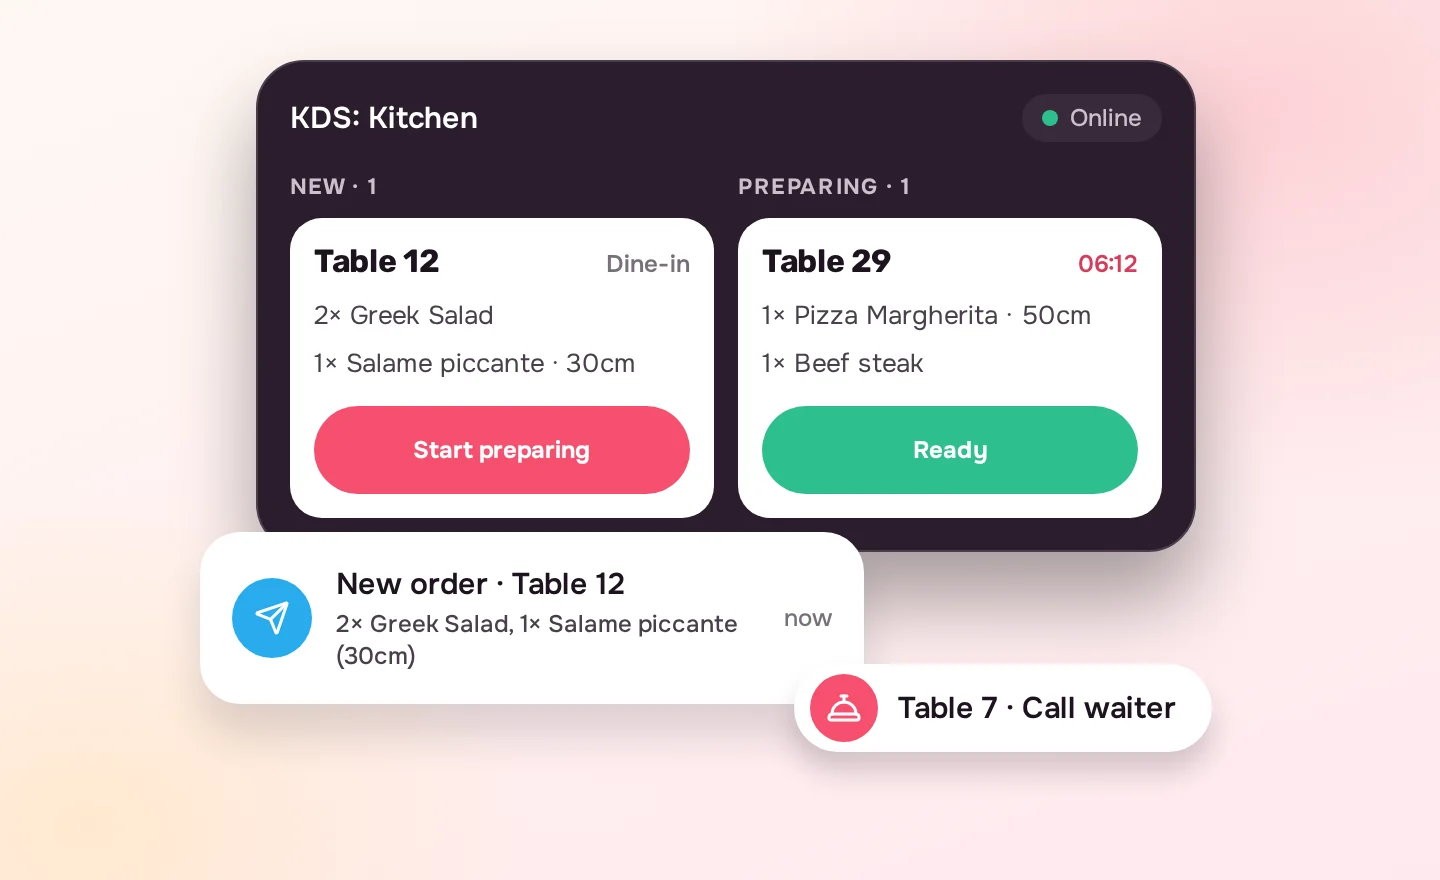
Orders and waiter calls reach the kitchen screen, waiters’ phones and Telegram.
“We already have an online menu”: why that’s often not enough
We often hear from owners: “We already have an online menu.” In practice, it usually turns out to be:
- a photo of the paper menu on Google;
- a PDF that guests have to zoom in on and scroll sideways on a phone;
- a website that isn't built for phones;
- a menu without photos or translations;
- a menu where guests can't mark the dishes they've chosen.
Guests feel the last one most: the waiter comes over, and they scroll back and forth trying to find what they wanted to order. In an inmenu QR menu, guests add dishes to the cart as they browse and simply show it when the waiter comes, or place the order themselves if you take orders through the menu. The menu also fits the phone screen, shows photos and translations, and keeps the same address, so printed codes keep working.
Frequently asked questions
Do guests need to install an app?
No. The menu opens in the phone's browser after the scan. The camera of any modern smartphone reads QR codes.
Can I change the menu after the QR codes are printed?
Yes. The code contains only the menu's address. Change dishes, prices and photos as often as you like, and the printed codes stay the same.
Can I try a QR menu for free?
Yes. Every inmenu plan starts with a 30-day free trial, and you can download and print QR codes at no extra cost.
Can guests order through the QR menu?
Yes, if you turn ordering on. You choose which order types to accept: at the table, pick-up or delivery.
Can the menu be in several languages?
Yes. Turn on the languages you need in the settings and add a translation of each dish. Guests can then read the menu in their own language.
What if I don't have time to set it up myself?
Send us your menu as a PDF, a photo or a link, and our team will build the online menu for you.
Create your QR menu today
Start your 30-day free trial. No app needed for your guests.


